Flashers have been in the game of ice fishing for quite a long time now. However, if you are new to this, you might need some guidance to get started. Sometimes, even an advanced ice angler fails to use a flasher to its maximum potential. But whether you are still a beginner or a regular angler, this article might be just what you needed.

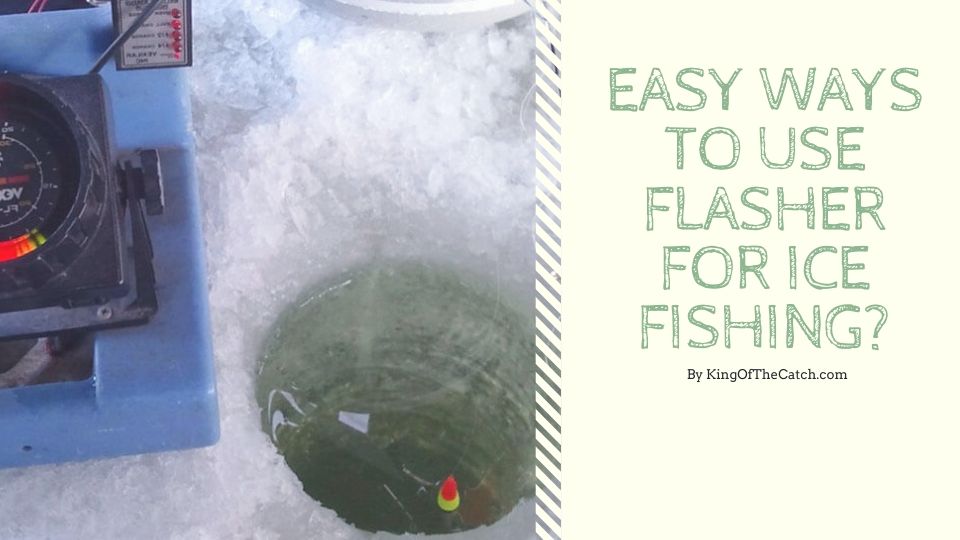
Easy Ways to Use Flasher for Ice Fishing
I’ve been a fishing enthusiast for over two decades now. When winter comes around, all I ever dream about is loading the truck with all my favorite fishing gear and hit the road for my next ice fishing expedition. And I must tell you, a flasher is one of my top-prioritized gears. Trust me! It has the ability to turn a slow day into a bucket full of catches.
So, without further ado, let’s jump straight into the article and discuss everything you need to know about ice fishing with a flasher.
Before anything else,
What is a flasher
A flasher is a portable sonar gear used popularly by ice anglers while ice fishing. A flasher is quite similar to a fish finder since they have the same ultimate goal – to find fish. However, while a fish finder displays various shapes, a flasher has a circle-shaped display, like a clock.
In simple words, a flasher is a tool that detects objects underneath the water. And it comes with an inbuilt clock-like LED screen that displays all the objects detected in the water.
To know more about how a flasher works and how to use one on your next ice fishing trip, continue reading.
How a flasher works for ice fishing?
The working mechanism of a flasher is based on sonar technology.
With the help of sonar technology, a flasher can detect various objects like plants, rocks, and fish in the water. A typical flasher includes three primary parts – screen, transducer, and power pack.
Now, let’s get into detail about how a flasher detects objects. First, the power pack generates and sends electrical energy to the transducer. After receiving the energy, the transducer transforms this energy into sound waves.
After the conversion of sound waves, the transducer sends the waves in a cone shape to the surrounding water. When the sound wave is suspended, different levels of vibrations are generated depending upon the objects nearby. The transducer picks up these vibrations /echo by acting as a microphone. Thus, whatever the transducer picks appears on the screen as colored blips.
How to set up a flasher for ice fishing
Dig a hole in your desired location. Make sure to plug into the battery. Turn the flasher on. And let’s get started:
Release the Transducer
Carefully drop the transducer in your desired ice fishing station (ice hole). Older flashers have trouble reading through the ice. Thus, you might want to let the transducer sit at the bottom of the ice edge to get a clearer picture.
On the other hand, new flashers won’t have a hard time reading through the ice. So, if your unit is too old, I’d recommend you invest in a new one to enhance your ice fishing experience.
Fix the Depth of Water
Modern flashers can conveniently read up to 250 feet of water. However, instead of taking chances, it is always a smart move to know the depths of the water you’re fishing in. For this, you can ask the local authorities or quickly Google it.
Once you are aware of the water depth, simply set the bottom depth of the flasher. It works best if you set the bottom depth one level deeper than the actual water depth. For example, if the water you’re fishing in is 20 feet deep, set the bottom depth on the flasher at 25.
Adjusting the Gain/Sensitivity level
Gain refers to the power of electrical energy generated and sent by the transducer. It controls the entire loop of the sonar signal moving from the transducer to the bottom of the water, then bouncing back.
The gain knob is usually present on the face of the flasher. Start by turning it on, keep turning the knob until you see a large interference like a large band. This usually indicates the bottom of the water. Once the bottom is visible, start turning the gain down until there is a clear picture on the screen.
Remember, the deeper the water, the higher you need to set the gain.
Maximize the resolution
By maximizing the resolution and sensitivity, you have a better chance of spotting things more precisely and clearly. For this, use the zoom feature on the flasher. Zoom in to different areas in the water column and check for any fishes.
However, different flashers have different zoom features. So, make sure to read the user manual properly before using the zoom function.
Drop the bait
Once you are done with these steps, drop your bait or lure into the ice hole. After lowering your lure, you will detect it on the flasher’s screen in the form of a bar. If it’s not clear enough, tune in the gain knob until it’s clear. Make sure that the bar is not flickering.
After you’ve set this, if you see any other lines and bars on your flasher, it is either some objects or your most-awaited catch (P.S if it moves, you definitely know it’s a catch!)
Before you go
Now that you’ll all set to start ice fishing with a flasher, here are some of my suggestions to get you started. The Vexilar FL-18 Genz Pack Ice Flasher and Humminbird ICE-35 Flasher have been my two absolute favorites. They never fail to amaze me when It comes to accuracy and precision.
However, if you’re tight on budget, you can try the Garmin Striker 4 Kit. I’m pretty sure this wouldn’t disappoint you at all.
Conclusion
I hope this article has helped you learn the basics of ice fishing with a flasher. However, different flashers include different features and technologies. The one I’ve explained above is the standard way of working with a flasher. Thus, if your flasher comes with different features and technology, you’ll have to go through the instruction manual to make use of it.

Niels Thomas is a wildlife expert and fishing fanatic that works with major fishing brands like Deeper Sonar, Abu Garcia, Berkley, PENN, BassPro and Pure Fishing. Through sharing the best fishing tips, tricks, gear reviews, locations and much more he hopes to inspire fishing fanatics to start their own journey towards becoming the King of the Catch!